- Download the Searchanise extension package to your local machine.
- Extract the content of the archive (the folder app with all subfolders and files)
- Connect to the server where your Magento store is installed via SSH or FTP. Switch to the store installation root directory (the path might look something similar to /var/http/magento/ on a UNIX-based server or C:\magento on Windows)
- Copy the entire unpacked app folder into your store installation root folder. No existing files are replaced during this operationYou will need to have the sufficient permissions to add new files to the store installation root directory. If you are not sure how to deal with file permissions, consult with your system administrator.
- Log in to your store admin panel. By default the admin panel is accessible on the URL http://your_store_domain/index.php/admin.
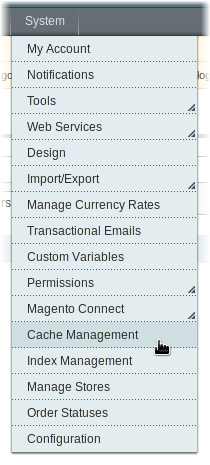
- Go to System → Cache Management:
- Click on Flush Cache Storage:

Right after you have performed all the listed actions the Searchanise extension is installed. You can immediately access the Searchanise admin panel under Catalog → Searchanise.
Your store will be automatically registered in the Searchanise database and a request for the initial synchronization will be added to the scheduled task queue. The initial indexation of you catalog may take some time depending on your store size.